
The following are images of step one to two of the project.
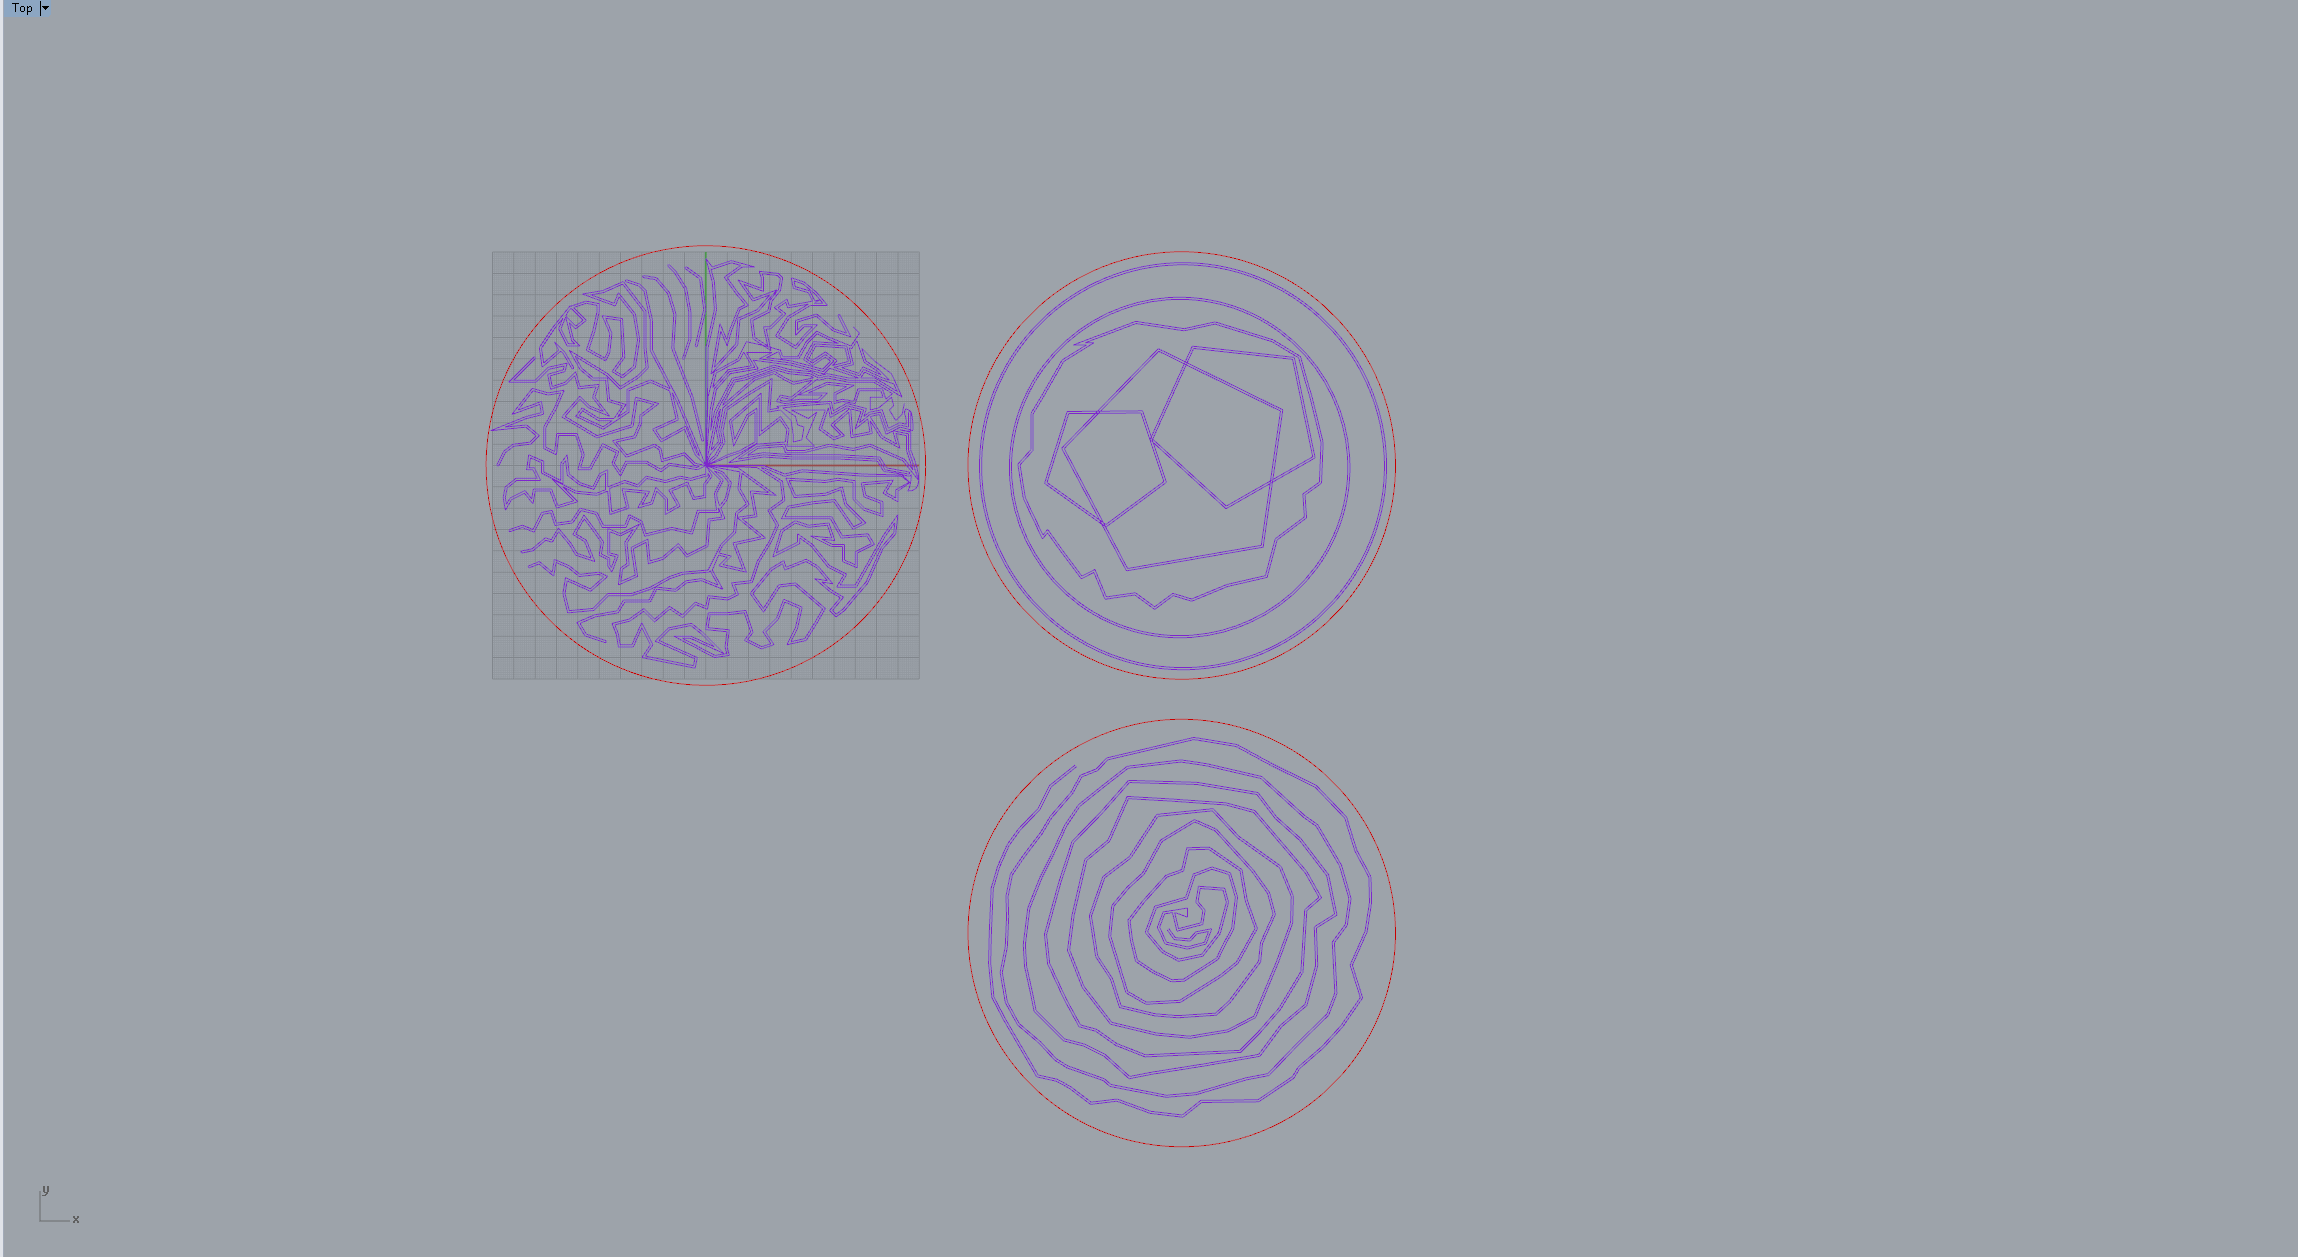
The image above is a screenshot of the rhino work space showing the designs that will be cut with the laser cutter. Originally the blue lines were only going to be etched and the red lines were going to be cut. But with the material confusion and time constrains the red lines were etched a little deeper so I can then cut them with hardware tools.

The image above shows step two, with the design already imprinted onto the material. Notice how dark are the rings compared to the inner design. I have now marked over the material lines to guide me to where I should cut. I will first cut a T-shaped object that will consist of the 3 circles, then I will use more precise tools to cut around them and make a pseud-cylindrical shape. On Part 3 I will show (finally) the finished result.